
Last updated November 4, 2026
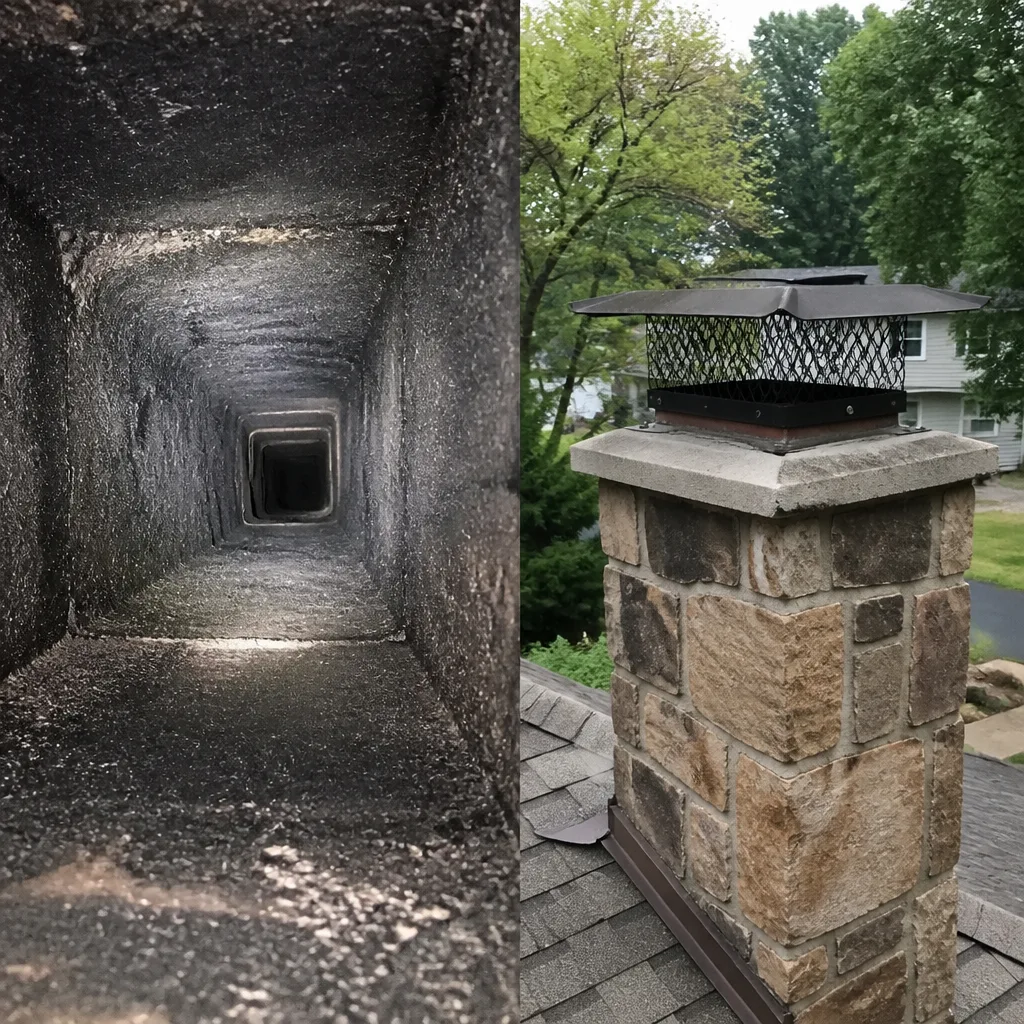 Sweep & inspection
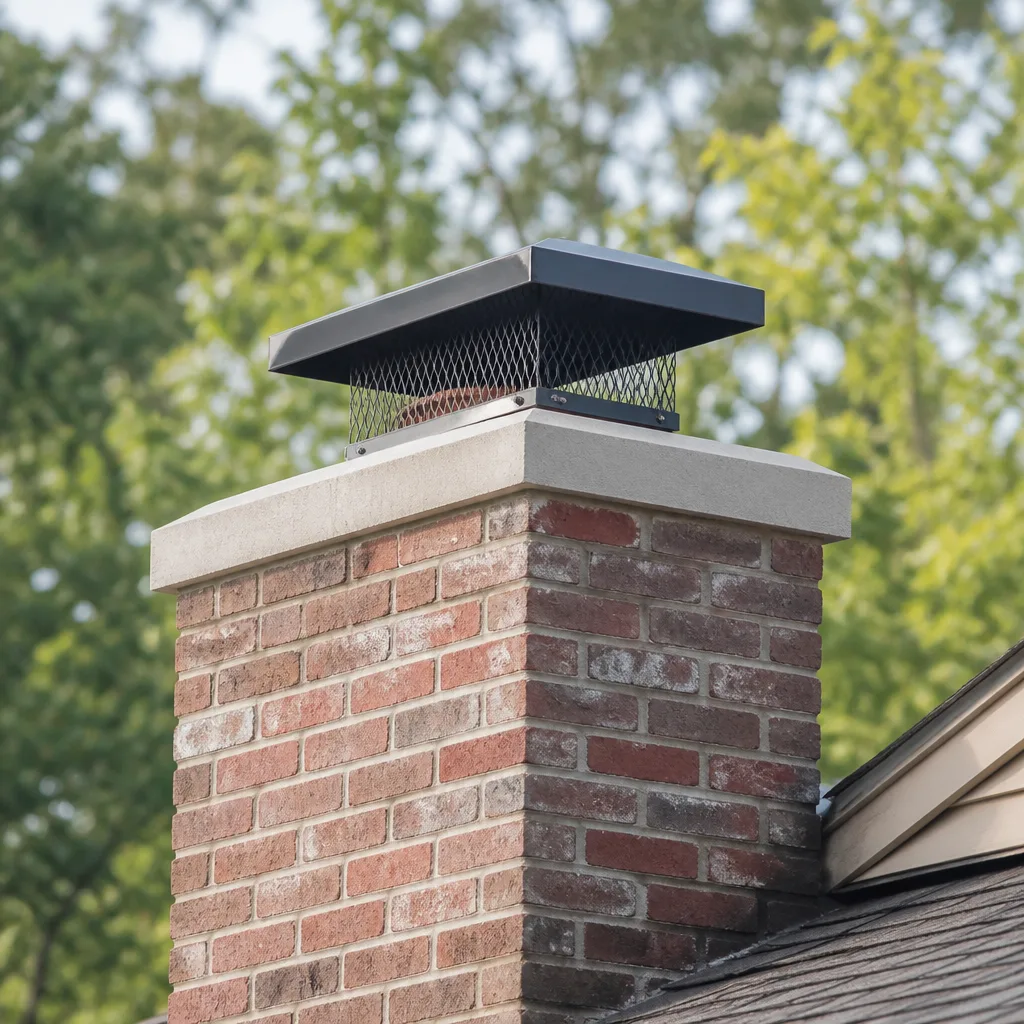 Caps & crowns
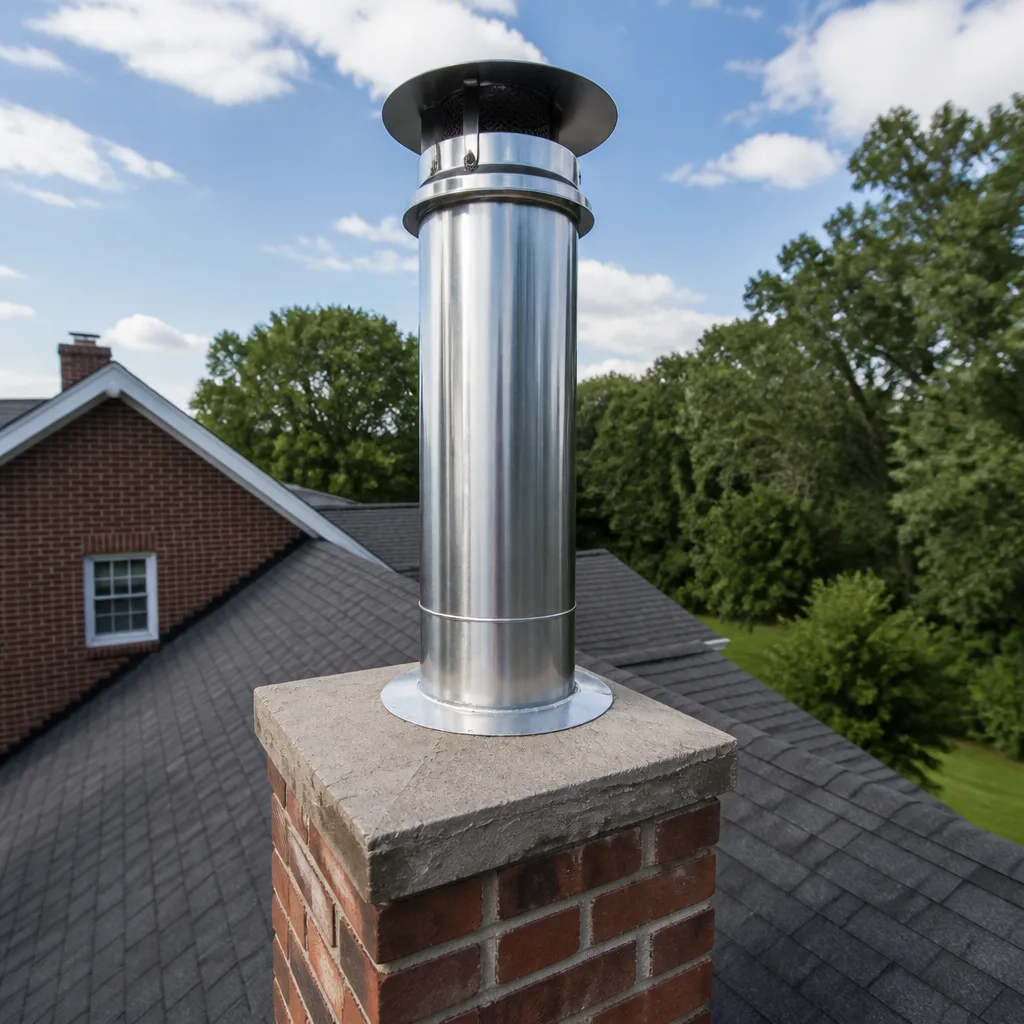 Flue relining
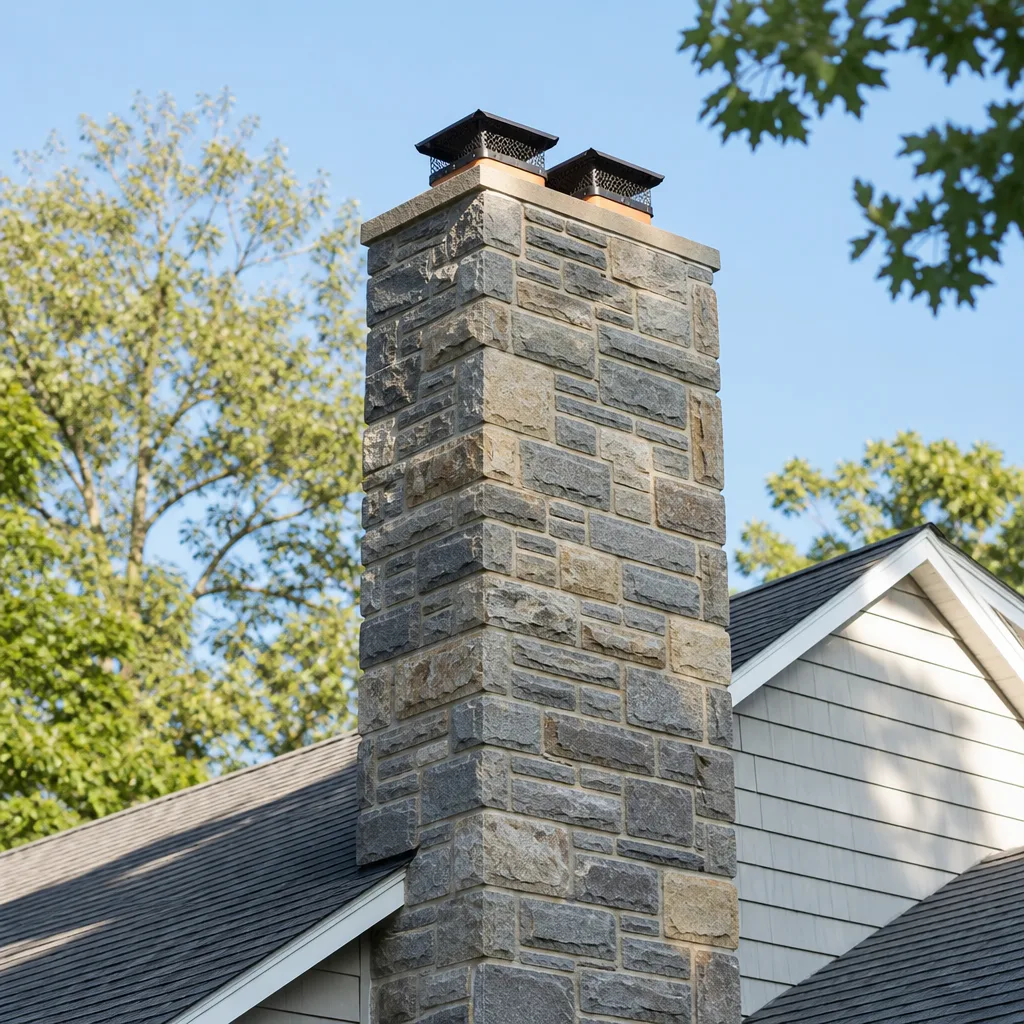 Masonry repair
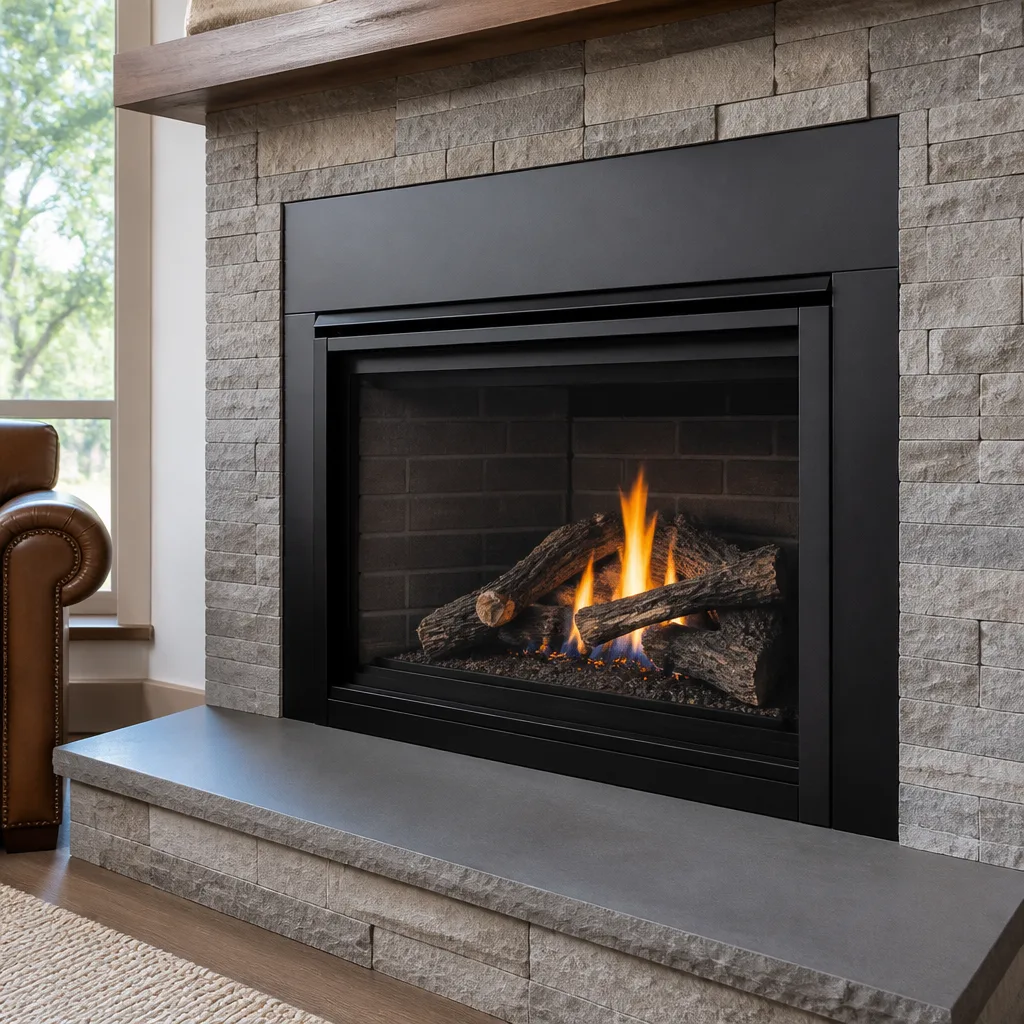 Gas fireplace service
Level 1 sweep and inspection to the NFPA 211 annual standard - flue, crown, cap, and flashing checked and photographed
Chimney sweep logs do not sweep chimneys. They loosen some creosote - which then falls where a brush and vacuum still have to collect it.
Chimney Sweep Maintenance Checklist for San Leandro Homeowners
The checklist most homeowners follow was written for someone burning wood six months a year in the Midwest. If you’re in San Leandro firing up a fireplace eight times a winter, you’re maintaining to the wrong standard. A generic national template tells you to sweep annually no matter what, replace caps on a calendar schedule, and inspect for ice damage you’ll never see here. What actually matters in San Leandro is different: occasional burning, marine air pushing moisture into older masonry, vintage housing stock from the 1940s through 1960s, and dryer vents that clog just as dangerously as any flue. This guide gives you a task-by-task schedule tied to those real conditions, not dates pulled from a corporate pamphlet.
Quick Answer
A San Leandro chimney maintenance checklist has four recurring items: visual inspection before first burn each fall, sweeping based on actual burn frequency rather than a fixed calendar year, moisture checks around the crown and cap after winter rains, and dryer vent cleaning on the same annual cycle. Homeowners can handle basic visual checks themselves; anything requiring roof access, flue interior inspection, or liner evaluation needs a chimney sweep with repair capability. Most occasional burners in San Leandro need a professional sweep every 2 to 3 years, not annually.
Styles & brands we work with
- Sweep & inspection
- Caps & crowns
- Flue relining
- Masonry repair
- Gas fireplace service
Table of Contents
- Seasonal Maintenance Tasks by Quarter
- What You Can Safely Inspect Yourself
- How Burn Frequency Changes Your Sweep Schedule
- Moisture Intrusion: The Overlooked San Leandro Problem
- Dryer Vent Maintenance: The Parallel Checklist
- What to Document and Photograph Each Year
- Common Mistakes San Leandro Homeowners Make
- When to Call a Professional
Seasonal Maintenance Tasks by Quarter
San Leandro’s climate does not demand the aggressive seasonal prep of colder regions, but it does require a rhythm tied to wet and dry seasons. Here is the quarterly breakdown that makes sense for this area’s actual weather pattern.
Fall (September through October): Pre-Burn Preparation
- Flashlight check from inside. Open the damper, shine a light up the flue, and look for obvious blockages: bird nests, debris, heavy creosote buildup. If you see anything that looks like black, crusty flakes layered on the flue walls, do not burn until a professional has looked at it.
- Test the damper. It should open fully and close fully. A damper that sticks or only partially closes means heat loss all winter and potential smoke backup on windy days.
- Look at the cap from the ground. If you can see rust, missing mesh, or a cap that sits crooked, call for a sweep. A damaged cap lets in rain, birds, and debris, and San Leandro’s damp winters make that damage compound quickly.
- Book the sweep if you are due. If your last professional cleaning was more than two years ago and you burn regularly, schedule it before the first cold snap. Fall bookings fill up quickly across the East Bay.
Winter (November through February): In-Use Monitoring
- Watch for smoke backing up into the room. Any smoke that does not draw properly up the flue is a warning sign: creosote blockage, a cold flue on startup, or a damper problem. Occasional startups can be sluggish, but consistent backpuffing means the system needs attention.
- Check for creosote flakes falling into the firebox. When you clean out ashes, look for shiny black or brown deposits on the firebox walls. These are creosote. Light flaky creosote is normal; heavy, tar-like buildup is a fire hazard and needs a sweep.
- Listen for unusual sounds. Popping, hissing, or a strong rush of air that wasn’t there before can indicate a flue obstruction or liner issue. We’ve seen cracked flue tiles make a distinct whistle on windy days.
- Check the exterior after heavy rain. Walk outside and look at the chimney structure. Water staining on the masonry, efflorescence (white powdery residue), or damp patches near the roofline mean moisture is entering where it should not.
Spring (March through May): Post-Season Assessment
- Schedule the sweep if you skipped fall. Spring is actually a good time to clean in San Leandro. The heating season is over, the flue is dry, and you’ll start next winter clean. Many homeowners find spring scheduling easier than competing for fall appointments.
- Inspect the crown and cap after winter rains. Have a professional look at the mortar crown, the cap, and the flashing. San Leandro’s winter moisture stresses masonry, and small cracks widen over the wet season.
- Clean out the firebox completely. Remove all ash. Ash left in the firebox over the humid summer can absorb moisture and create acidic conditions that damage firebrick.
- Check the exterior masonry for cracks. Look for new cracks in the bricks or mortar joints, particularly after the wet months. Small cracks become big ones when next winter’s rain works into them.
Summer (June through August): The Deep-Clean Window
- Book any needed repairs. Summer is the ideal window in San Leandro for crown repair, cap replacement, flashing work, or liner repairs. The weather is dry, access is easier, and you’ll be ready for fall. A full-system inspection is often most practical during this period.
- Have dryer vents cleaned. Summer is a common time for dryer vent cleaning because accumulated lint dries out fully and becomes more flammable. This should not wait until the rainy season.
- Consider HeatShield if your liner shows signs of age. If a recent inspection flagged spalling flue tiles or cracked mortar joints in the liner, summer is the right time for resurfacing work, done before the first fall fire.
What You Can Safely Inspect Yourself
Most chimney maintenance does not require a roof. What matters is knowing the difference between a homeowner-level visual check and a technician-level evaluation. Here is what you can do from the ground or from inside the house.
From Inside the Firebox
- Creosote inspection. Use a flashlight to look at the flue walls. Light, dusty buildup is normal. Dark, shiny, tar-like creosote is a hazard. If you can see it from the firebox, the flue likely holds more higher up.
- Damper operation. Open it fully and close it. The mechanism should move freely. Lubricating the hinge lightly with graphite spray is a DIY task, but never force a stuck damper.
- Firebrick condition. Look at the walls of the firebox. Cracked firebrick, missing mortar between bricks, or crumbling surfaces mean the firebox needs repair. Firebrick protects the structure behind it, and gaps expose combustible framing to heat.
- Flue tile visibility. From the firebox, you may see the first few feet of the flue. Look for cracked tiles, gaps between sections, or any tile that appears shifted. This is the start of a liner problem that HeatShield resurfacing or a DuraFlex liner replacement can address.
From the Ground Outside
- Cap and crown condition. Walk around the house and look up at the chimney. You can often identify a missing cap, a rusted cap, a cracked crown, or a leaning chimney from the ground. Binoculars help if the roof is steep.
- Masonry staining. Dark staining, white streaks, or greenish patches on the exterior chimney brick indicate moisture problems. In San Leandro’s damp winter months, these signs matter more than in drier inland climates.
- Gaps around flashing. From the ground, you can sometimes see if the metal flashing where the chimney meets the roof has lifted or separated. If you see daylight or visible gaps, water is getting in.
What you should not do is get on the roof yourself. Steep pitches, wet tiles, and the absence of proper fall protection make roof work dangerous. We say this plainly because we have seen homeowners make a bad situation worse with a slip. Anything requiring roof access is a professional job.
How Burn Frequency Changes Your Sweep Schedule
The single biggest mistake we see in San Leandro is homeowners following an annual sweep schedule designed for heavy burners in cold climates. If you burn a fire once a week from November through February, you are producing maybe 16 to 20 fires per year. That is a vastly different creosote profile than a household burning twice daily for six months in Minnesota.
Here is how frequency drives your sweep interval:
- Occasional burner (5 to 15 fires per year): A professional sweep every 2 to 3 years is typically sufficient, assuming you do the visual checks described above and never burn unseasoned wood. The creosote volume simply does not accumulate fast enough to warrant annual cleaning.
- Regular burner (15 to 40 fires per year): Sweep every 1 to 2 years. At this level, creosote starts to build in the upper flue where you cannot see it from the firebox. This is the most common profile we see in San Leandro’s older homes with wood-burning fireplaces.
- Heavy burner (40+ fires per year or any daily burning): Sweep annually. This is the level where the national template actually applies. If you burn most evenings from October through March, you produce enough creosote to justify yearly cleaning.
- New home or never-swept chimney: Sweep immediately. There is no way to know what the previous owner burned or how the system was maintained. We have pulled surprising amounts of creosote and debris from chimneys that looked clean from the firebox.
The other factor that changes everything: what you burn. Unseasoned wood, construction scraps, treated lumber, cardboard, or wrapping paper all produce more creosote than properly seasoned hardwood. In San Leandro, where wood often sits in the damp Bay air longer than it would in a dry climate, seasoning takes longer. Wood that splits easily and sounds hollow when tapped is properly dry. Wood that hisses when burned is not. Wet wood not only burns poorly, it deposits creosote at a dramatically faster rate. If you are burning wood that has been stored uncovered in the rain, you need to scale your sweep schedule toward the more frequent end of these ranges.
Moisture Intrusion: The Overlooked San Leandro Problem
Most chimney maintenance guides obsess over creosote and skip moisture. In San Leandro, that is backwards. With mild winters and the Bay’s marine air settling over the East Bay much of the year, moisture is the slow killer of chimneys here. Creosote is a fire hazard when it builds; moisture is a structural hazard every single month.
Here are the specific moisture indicators you should watch for in San Leandro:
- Efflorescence on exterior brick. This is the white, chalky residue that appears when water migrates through masonry and deposits dissolved salts on the surface. It means water is moving through the chimney structure. Efflorescence that appears in the same spots year after year indicates an active moisture path.
- Spalling bricks or flaking mortar. When moisture saturates brick and the temperature fluctuates, the surface of the brick can flake away. San Leandro’s damp, mild climate causes this gradually. You’ll see brick faces popping off, leaving pitted surfaces.
- Damp smell from the fireplace in summer. A musty odor coming from the firebox when the fireplace has not been used in months means moisture is sitting somewhere in the system. It is often a cap or crown problem letting rain directly into the flue.
- Interior water staining near the chimney chase or ceiling. If you see brown or yellow discoloration on the ceiling around the chimney, water is leaking past the flashing and into the framing. This is an active leak, not a cosmetic issue.
- Rusted damper or firebox components. Metal parts inside the firebox rusting faster than they should means rain is entering through the flue. A functioning cap should prevent this.
The fix for moisture is almost always at the top of the system: a proper cap, a sound crown, and intact flashing. In our experience inspecting San Leandro chimneys, the most common moisture entry points are cracked crowns and missing or damaged caps. The crown is the mortar slab at the very top of the chimney; it sheds rainwater away from the flue. When it cracks, water runs directly down the flue exterior and into the masonry. A replacement cap from Copperfield or Gelco, installed with the correct sealant, stops most moisture problems at the source. If the flue tiles themselves have absorbed moisture and begun to spall, a HeatShield resurfacing can restore the liner surface without full replacement.
Dryer Vent Maintenance: The Parallel Checklist
The same homeowners who maintain their chimneys faithfully often ignore their dryer vent. In our experience, the two systems fail for similar reasons and on similar timelines. Lint accumulations in a dryer vent are a fire hazard directly comparable to creosote in a flue. Both are byproducts of normal use. Both ignite under the right conditions. Both are invisible until someone looks.
Here is the dryer vent checklist that pairs naturally with your chimney maintenance:
- Annual visual inspection at the exterior vent termination. Go outside and check the vent outlet while the dryer is running. Lint should be blowing out steadily. If the airflow feels weak, the duct is partially clogged.
- Clean the lint trap after every load. This is basic and most people do it, but it is the first line of defense. A clogged lint trap forces lint deeper into the duct.
- Professional cleaning every 1 to 2 years. Brushing the vent from the interior to the exterior removes the compacted lint that a vacuum cannot reach. This is a service we provide as a dedicated line of work, not an add-on. The venting components we use, like Famco products, are the same commercial-grade materials specified for serious installations.
- Watch for longer drying times. If a load that used to dry in 40 minutes now takes 60 or more, the vent is restricted. This is the earliest practical warning sign of lint buildup.
- Check for a burning smell during operation. Lint smoldering inside a duct produces a distinct odor. If you smell it, stop using the dryer and have the vent cleaned immediately.
Dryer vent cleaning is a fire hazard, not a minor chore. San Leandro’s older homes often have long, convoluted dryer duct runs that snake through walls and ceilings. These collect lint faster than short, straight runs in newer construction. If your dryer vent runs more than 10 feet or makes multiple turns before reaching the exterior, lean toward annual professional cleaning.
What to Document and Photograph Each Year
A maintenance checklist is only as good as the record it creates. Most homeowners sweep, repair, and move on without documenting anything. Then a home inspection happens, or an insurance claim arises, and there is no baseline to prove what was done or when. Here is what to capture each year so you have a condition history.
Photograph These Items on Your Phone
- The firebox interior before and after cleaning. These photos show the condition of firebrick, the damper, and any creosote present at the start of the season versus after a sweep.
- The cap and crown from the ground. Use the zoom lens. Capture the same angles each year. Changes in rust, cracking, or tilt become obvious when you compare year-over-year photos.
- The exterior masonry from all four sides. Efflorescence, staining, spalling, and cracks show up in photos. Take them in the same lighting conditions each year if possible.
- The flashing where the chimney meets the roof. From the ground, capture the best angle you can. When you later have a professional inspection, their roof-level photos can be added to the same folder.
- The dryer vent termination. Photograph the exterior vent outlet. Lint buildup, missing flappers, or damaged covers are easy to see in photos.
Keep a Simple Written Log
- Date and service type. Note each professional sweep, each repair, each dryer vent cleaning. Include the company name and any findings the technician reported.
- Burn count for the season. A rough tally of fires burned. This is the single most useful piece of information for determining when your next sweep is due.
- Wood source and seasoning. Note where your wood came from and how long it sat before burning. This helps diagnose creosote patterns.
- Any unusual observations. Smoke backing up, unusual smells, sounds from the chimney, dampness in the firebox, birds or animals heard in the flue.
This documentation matters most when you sell. A San Leandro buyer’s home inspection will flag any chimney or dryer vent issue they can see. Having a documented maintenance history shows the system was maintained and gives the buyer confidence. It can also support an insurance claim if you ever need to file one. Without a baseline, an insurer may argue the damage was pre-existing or the result of neglect.
Common Mistakes San Leandro Homeowners Make
- Assuming annual sweeping is mandatory because a national article says so. In San Leandro’s mild climate with occasional burning, annual sweeping is often unnecessary. The real requirement is matching the sweep interval to actual burn frequency and condition. Sweeping a clean flue every year is wasted money; skipping a dirty one is dangerous.
- Burning unseasoned wood to save money. Wet wood produces more creosote, burns cooler, and creates more smoke. The savings vanish when you need a sweep twice as often or face a creosote-related chimney fire.
- Ignoring the dryer vent because the lint trap gets cleaned. The lint trap catches only a fraction of the lint the dryer produces. The rest travels into the duct. A clean trap does not mean a clean vent.
- Treating moisture staining as cosmetic. Efflorescence and water staining on chimney brick are not the chimney’s version of a patina. They mean water is moving through the masonry, and water destroys chimneys slowly but surely in San Leandro’s damp air.
- Getting on the roof to inspect without proper equipment. The inspection is not worth a fall. Roof work on Bay Area homes with steep pitches and damp tiles is genuinely dangerous. Leave it to a professional sweep who carries the right gear.
- Waiting until fall to book a sweep and then being surprised by the wait. Every San Leandro homeowner with a fireplace calls for a sweep in October and November. Booking in summer or spring means you get your preferred time, and the flue is clean and ready before the first cold evening.
- Assuming a home inspection pass means the chimney is in good shape. Home inspectors do a visual check from the ground or attic. They do not run a camera through the flue. We have found cracked liners, blocked flues, and damaged caps in chimneys that passed inspection months earlier.
When to Call a Professional
You have made it through the DIY checklist and something looks wrong. Here are the specific scenarios where you should stop inspecting and call a professional rather than trying to fix it yourself or deferring it.
- You see shiny, tar-like creosote in the firebox or flue. This is the most dangerous type of creosote and the most likely to ignite. A professional sweep with the right brushes and techniques is needed.
- Smoke backs up into the room consistently. This means a blockage, a damaged liner, or a draft problem that a technician must diagnose. Continuous exposure to chimney smoke inside the home is a health and fire hazard.
- You find cracked flue tiles or visible gaps in the liner. A damaged liner allows heat and gasses to reach combustible framing. Repair options include HeatShield resurfacing or a full DuraFlex liner replacement, both of which require specialized installation. This is not a homeowner repair.
- Moisture staining, efflorescence, or spalling is visible on the exterior masonry. A professional can identify whether the source is the crown, the cap, the flashing, or a combination, and then fix it correctly. Guessing at the source means paying for the wrong repair.
- You smell something burning when the dryer runs. Stop using the dryer immediately. Lint ignition inside a duct spreads quickly. Have the vent professionally cleaned before using the dryer again.
- Birds or animals have nested in the flue. Live animals require proper removal. Once they are out, the flue needs a thorough sweep and the cap needs repair or replacement to prevent re-entry.
Chimney Cleaning San Leandro offers free estimates in San Leandro. Our technicians sweep, inspect, and repair in a single visit, so you get a full picture of your system rather than a brush-and-leave. Call (833) 736-8208. We answer 24/7. Fast dispatch from 7am to 7pm, Sunday through Friday.
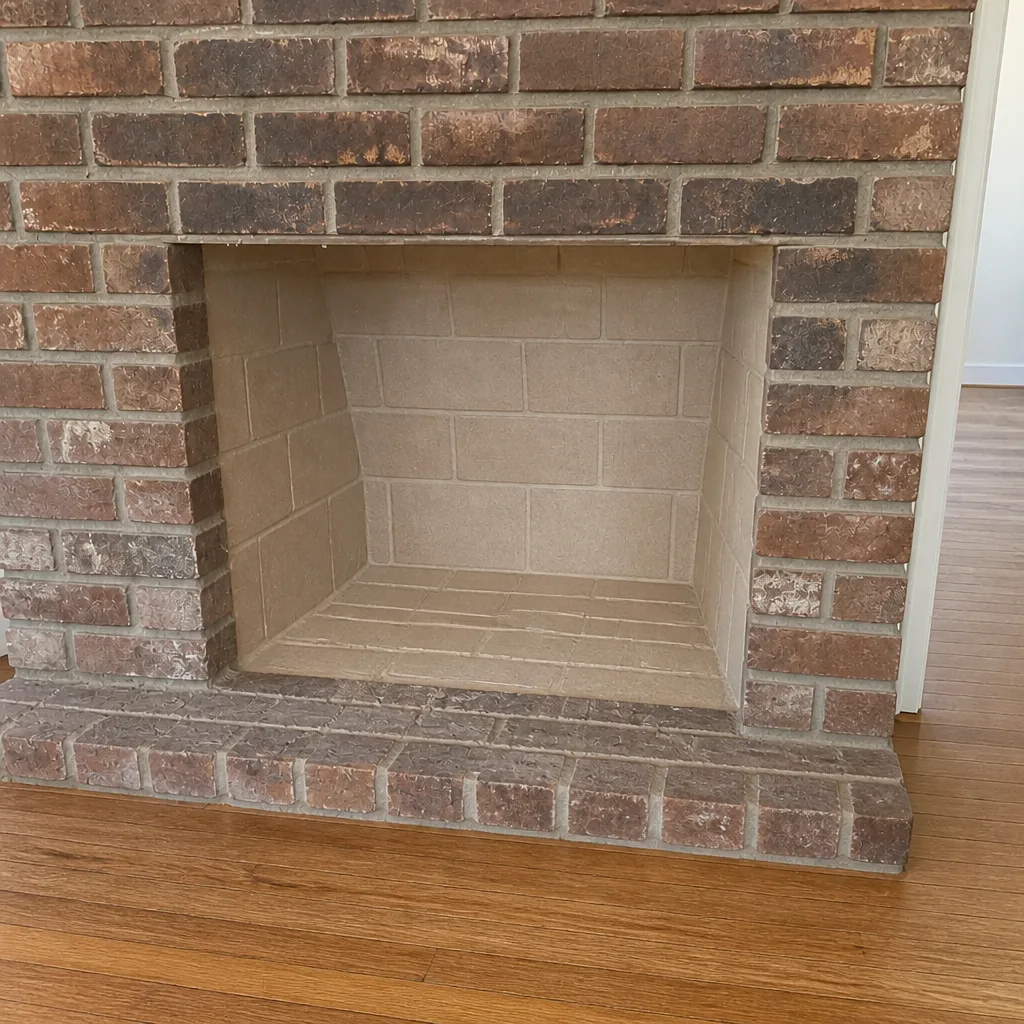
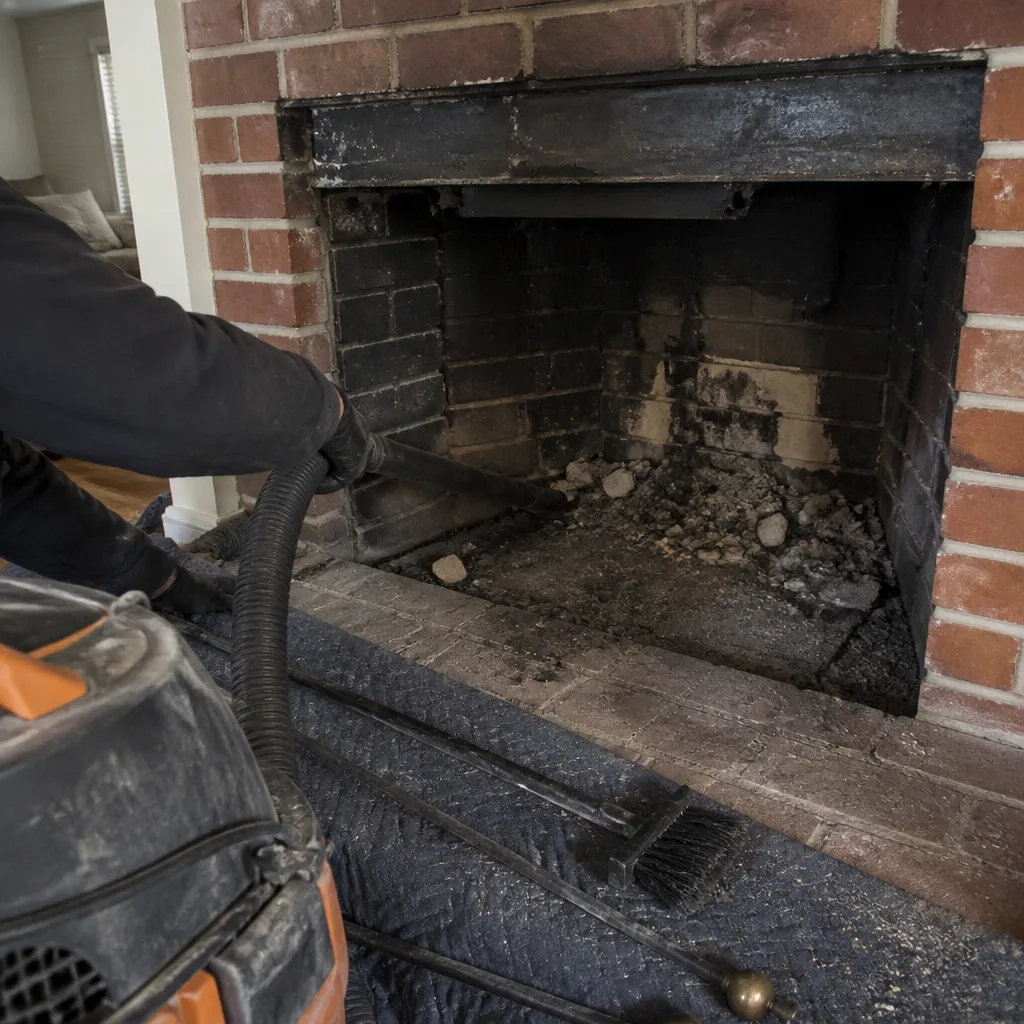
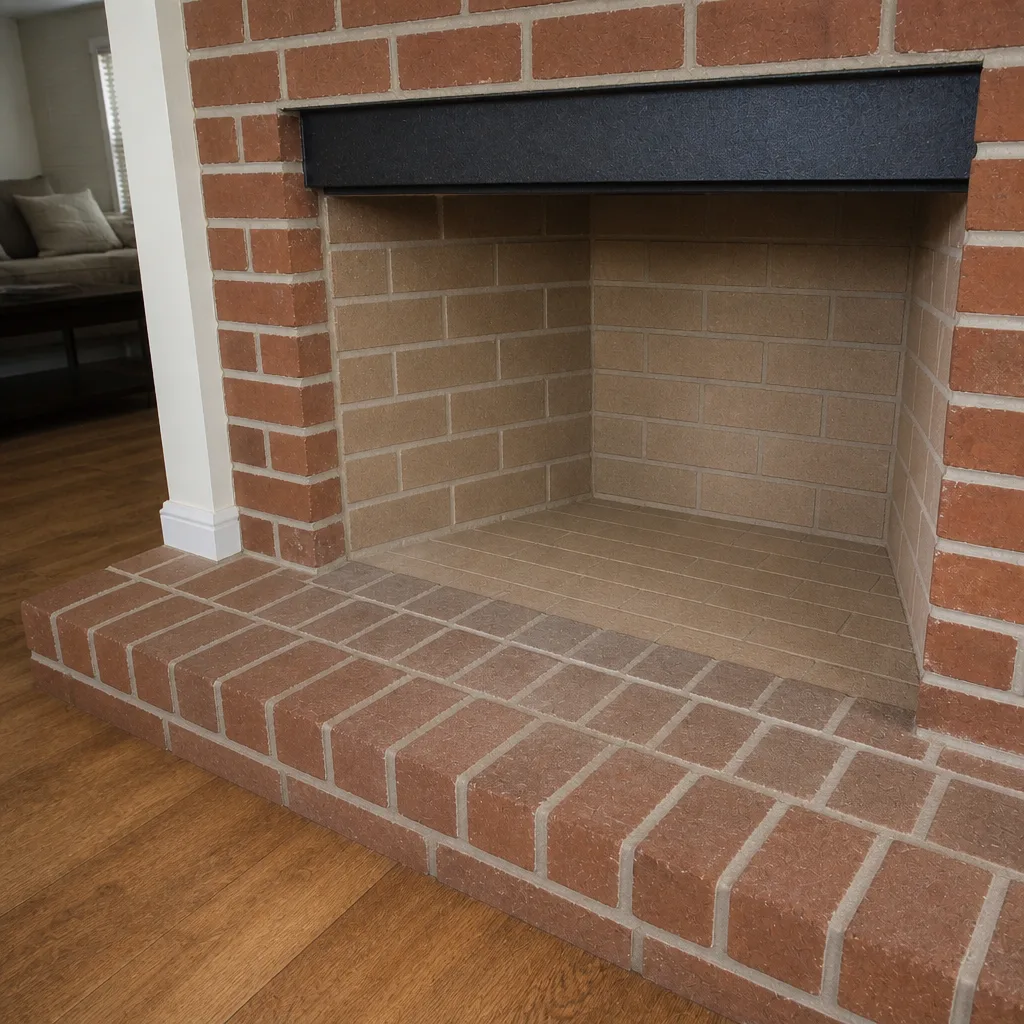
See the difference
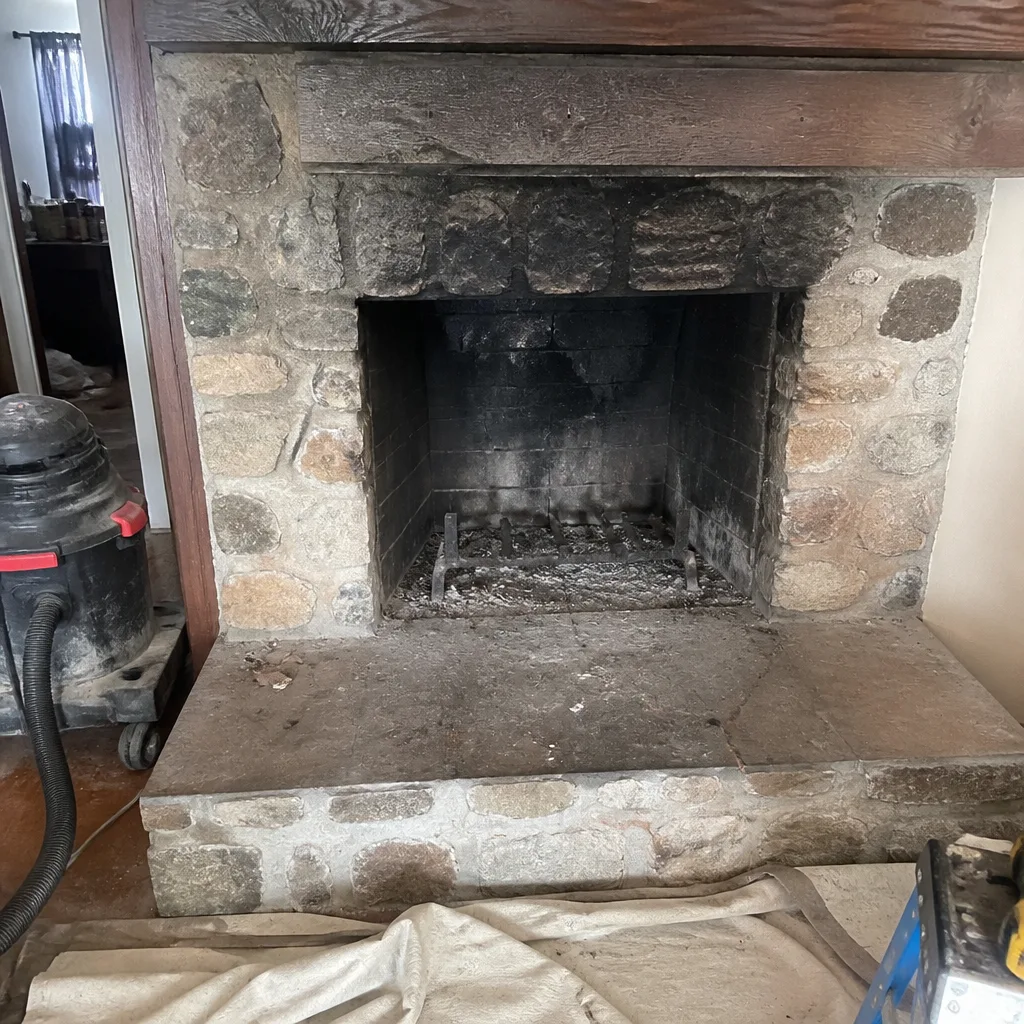 Before
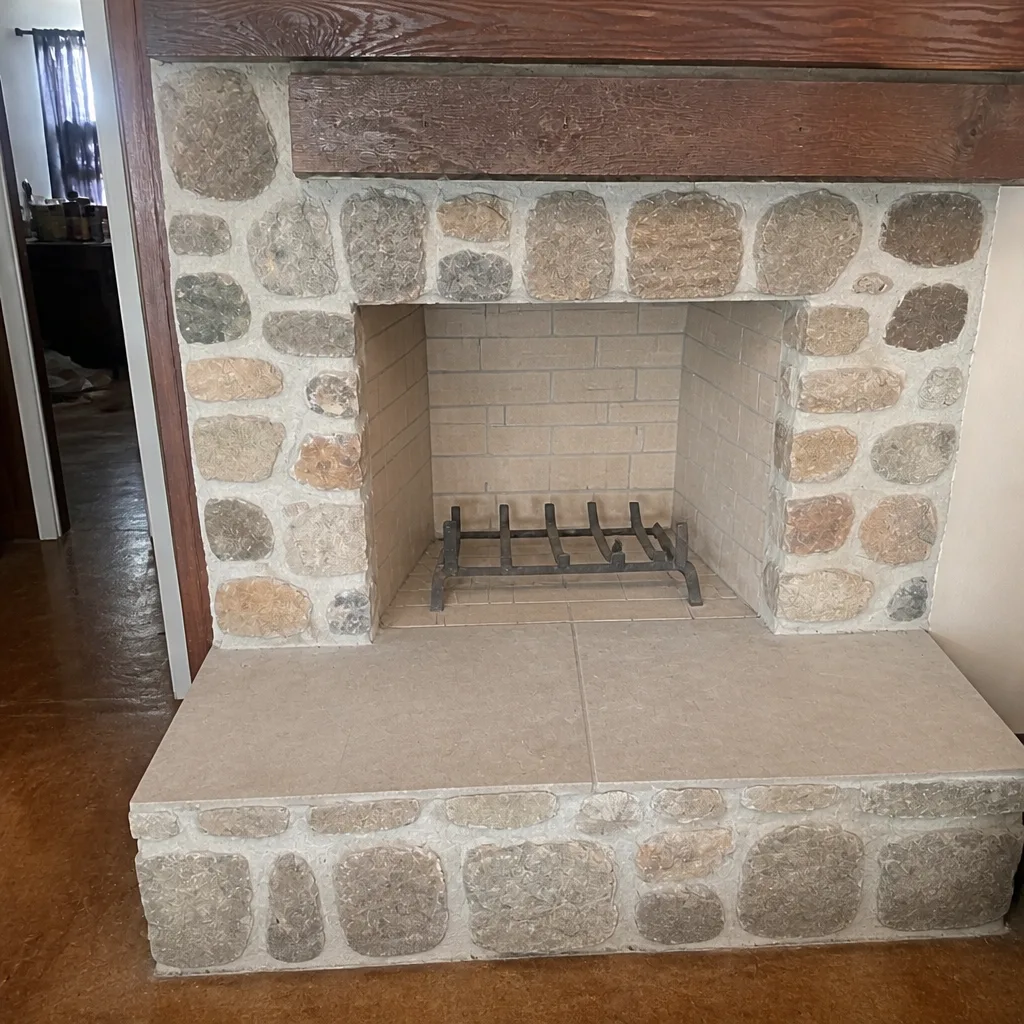 After
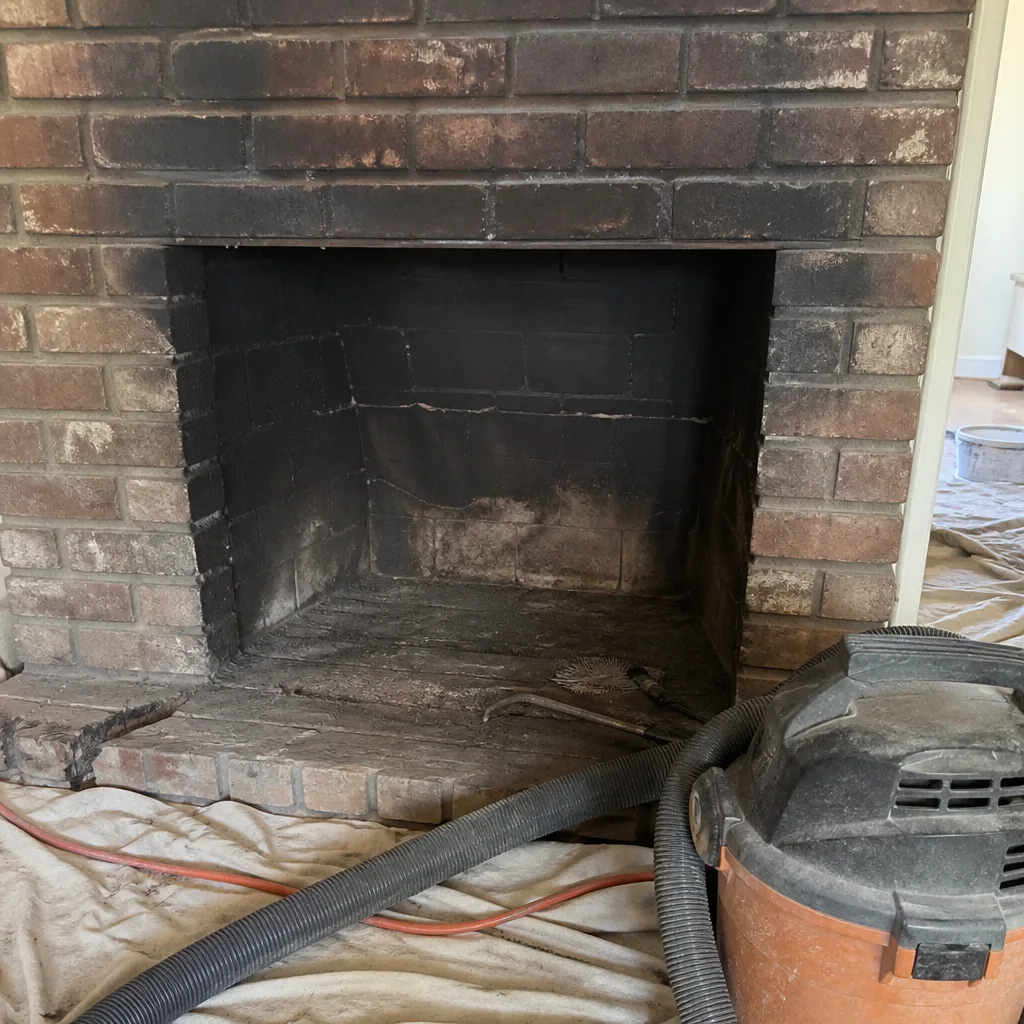 Before
 After
 Before
 After
Frequently Asked Questions
Most San Leandro homeowners who burn occasionally, roughly 5 to 15 fires per winter, need a professional sweep every 2 to 3 years. Regular burners, 15 to 40 fires per season, should sweep every 1 to 2 years. Heavy users who burn most winter evenings should sweep annually. The schedule depends on burn frequency, wood quality, and what the previous sweep found. Call (833) 736-8208 for a free estimate on your next sweep.
Yes. Most of a useful visual inspection happens from the firebox and from the ground. Check the firebox for cracked firebrick, heavy creosote, and damper operation. From outside, look at the cap, crown, flashing, and exterior masonry with binoculars if needed. Do not get on the roof yourself; roof access requires proper fall protection and is a professional job.
The most common signs are efflorescence, which looks like white chalky residue on the exterior brick, spalling or flaking brick faces, damp smells from the firebox in summer, and water staining on ceilings near the chimney. In San Leandro’s damp marine air, moisture intrusion is the slowest but most persistent cause of chimney deterioration.
The lint trap catches only a fraction of the lint a dryer produces. The rest travels into the duct. Over time, that lint packs against duct walls and becomes a fire hazard. A professional dryer vent cleaning every 1 to 2 years is the standard recommendation, and more often for older San Leandro homes with long or convoluted duct runs. Call (833) 736-8208 to schedule a cleaning with a free estimate.
Photograph the firebox before and after cleaning, the cap and crown from the ground, the exterior masonry from all sides, the flashing area, and the dryer vent termination. Keep a simple written log with the date, service performed, burn count for the season, and any unusual observations. This record becomes valuable when you sell the home or file an insurance claim.
Yes. HeatShield resurfacing is a specialized repair process that restores the interior surface of a damaged flue liner without full replacement. It addresses spalling flue tiles and cracked mortar joints by applying a ceramic coating inside the existing flue. If the liner is too far gone, a full DuraFlex liner replacement is the alternative. A camera inspection determines which option applies to your chimney.
The Bottom Line
A San Leandro chimney maintenance checklist is built around your actual burn habits, your home’s age, and the damp marine air that works on masonry year-round. The right rhythm for most homeowners here is a sweep every 2 to 3 years, visual checks before each burn season, moisture monitoring after winter rains, and dryer vent cleaning on the same cycle. Document what you do, never ignore the slow signs of water damage, and get on the roof only if you are a trained professional. Call (833) 736-8208 for a free estimate, or book a sweep and full inspection in one visit.
Written by the team at Chimney Cleaning San Leandro, serving San Leandro since 2013.